KEEP FOR FUTURE REFERENCE
TAGHAWK DX
BUILDER'S MANUAL
WELCOME, BUILDER
Every TagHawk DX ships with its electronics staged and its frame printed on genuine ZAPTRONICS tooling. What it doesn't ship with is the last 20% — the bonding, the fitting, the wiring, the tuning. That part belongs to you. When it powers up, it powers up because you finished it.
1 · CHECK YOUR PARTS
| Part | Qty | ✓ |
|---|---|---|
| Precision-printed receiver & shell set (frame, handle, shroud) | 1 | |
| XL color display module (mast-mount) | 1 | |
| Sound FX board with speaker | 1 | |
| Tag / hit-detection sensor module | 1 | |
| Multiplayer radio link module | 1 | |
| Wiring harness & connectors | 1 set | |
| Fastener pack | 1 |
Not included: 2× 18650 batteries, CA adhesive or 2-part epoxy. Missing a part? zap.toys/support with your serial.
2 · TOOLS YOU'LL NEED
3 · ASSEMBLY
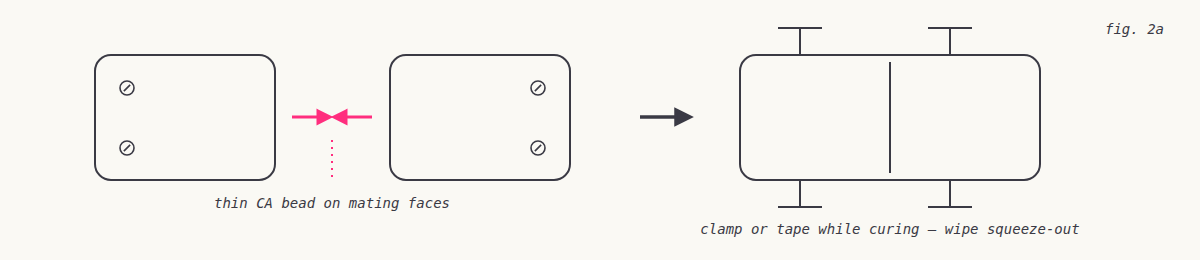
Lay every part on a clean surface and tick the checklist above. Look over the printed shell for stray support material — a pass with the hobby knife and light sanding on mating faces gives the cleanest bond later.
Dry-fit the shell halves around the receiver first — no glue. When everything seats flush, apply a thin bead of CA or epoxy to the joining faces, press together, and clamp or tape while it cures. Wipe squeeze-out immediately.
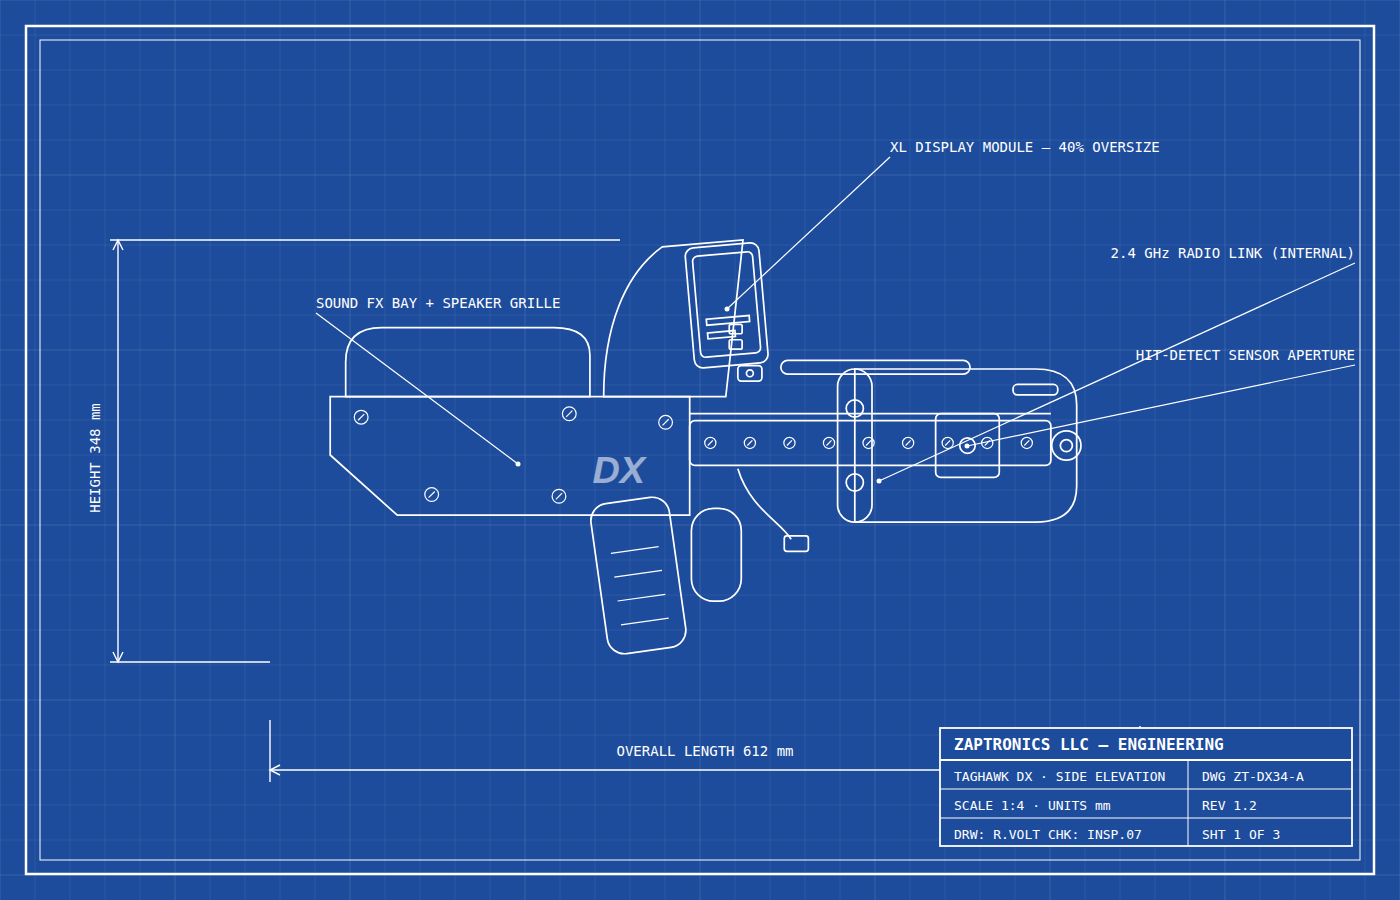
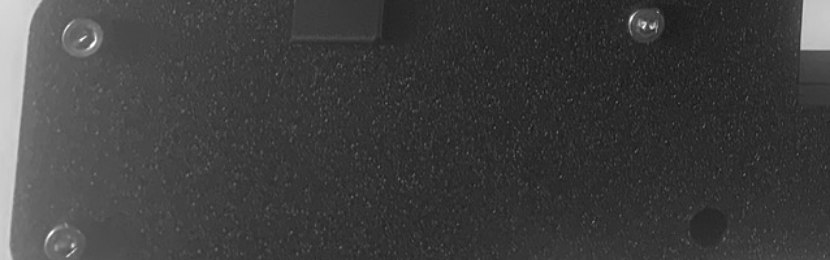
Seat the display module on its mast bracket and secure with four fasteners from the pack. Route its lead down the mast channel and click it into the harness. The DX display is 40% larger than standard tagger screens — it also bolts straight onto most stock units if you ever want to upgrade other gear.
Clip the speaker into the grille pocket in the lower receiver, then join the sound board to the harness — connectors are keyed and only fit one way. Never force a connector.
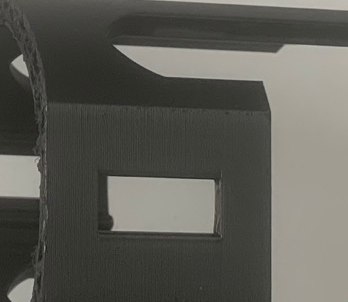
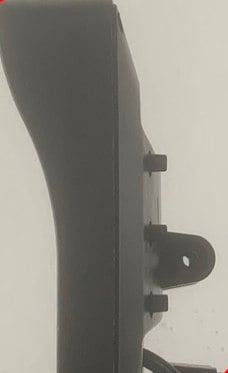
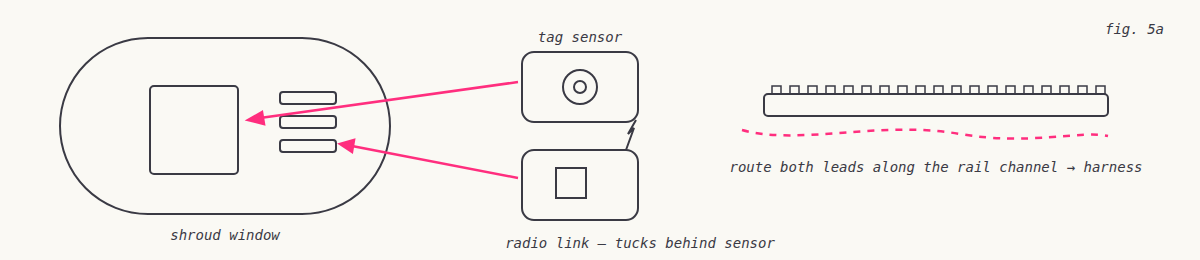
The hit-detection sensor mounts in the barrel shroud window; the radio link tucks behind it. Route both leads along the rail channel and into the harness. Keep wiring clear of the fastener bosses before closing up.
Insert 2× 18650 cells (mind polarity), hold the trigger, and switch on. You should get the boot chime, the display splash, and a sensor blink. Two blasters within range will find each other automatically for multiplayer.
TagHawk modules follow standard tagger pinouts and rail geometry. Swap the XL display or sound board into your pro unit, graft pro parts onto the TagHawk frame, re-shape the grip, tune the ergonomics. There is no wrong build — a TagHawk that ends up inside another blaster is still a TagHawk.
4 · TROUBLESHOOTING
| Symptom | Try this |
|---|---|
| No boot chime | Re-seat batteries; check the sound board connector is fully clicked in. |
| Display stays dark | Re-seat the mast lead at both ends; confirm it isn't pinched in the mast channel. |
| Hits not registering | Clean the sensor window; make sure the shroud window aligns with the sensor face. |
| No multiplayer link | Power-cycle both units within 10 m of each other; the radio pairs on boot. |
5 · WARRANTY & SUPPORT
Electronic modules are covered for 90 days from delivery. Register your build at zap.toys/register with serial ZTDX34-JMY-0044. Because this is a builder's kit, wear from assembly, sanding, adhesives and modification is normal and expected — that's what it's for.